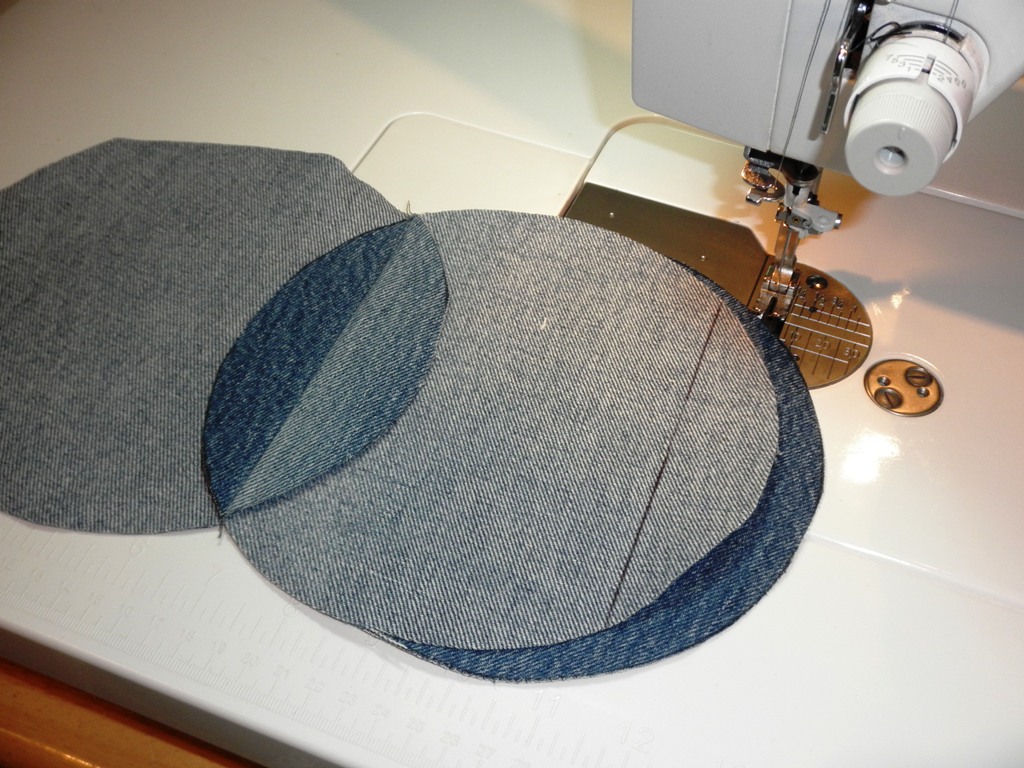
Update: The pattern is complete!
You can purchase a copy at my Etsy Shop:
This is my continuing journey into creating a quilt pattern. I am working through the instructions a little at a time. With each new version I continue to revise the pattern.
Friday morning I was up bright and early and I finished sewing the flaps down on all three rows.
Next, I did some measuring, making sure I was able to get the correct distance from the edge of the circles to the inside of the charm squares. This is the tricky part. It’s not easy to measure to the edge of a circle!!
The other option, measuring from the edge of charm square is really not viable because the squares aren’t perfectly aligned.
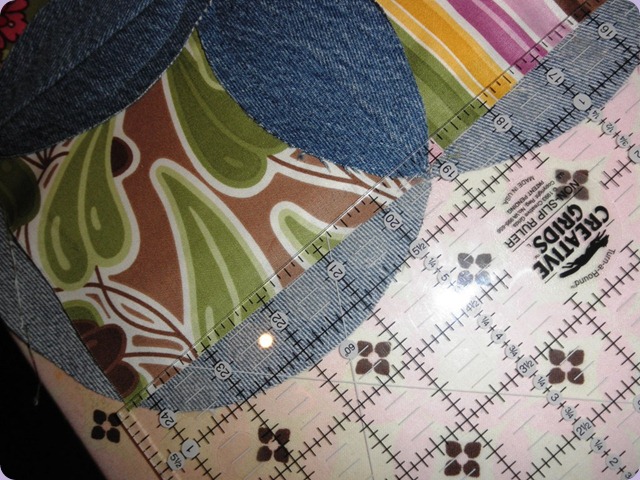
I do have it figured out now. It’s taken a while but I’ve got this down!
Once the seams are marked, I line up the seams and sew. I always baste the seam first (by machine), that way if my seams are off it’s a lot easier to deal with it at the time.
When I’m sewing the “real” seam, I do a lot of reinforcing and I have found that it is SO much nicer to rip out a mismatched basting stitch then a double reinforced seam!!

I have designed this pattern to have nice thick denim seams. Why?
A.) it helps to keep the denim from fraying and coming apart with multiple washings. When that happens you start to get little holes popping up throughout the quilt (been there-done that!)
B.) It provides more denim for clipping around the circles
C.) The extra thickness looks really Great!
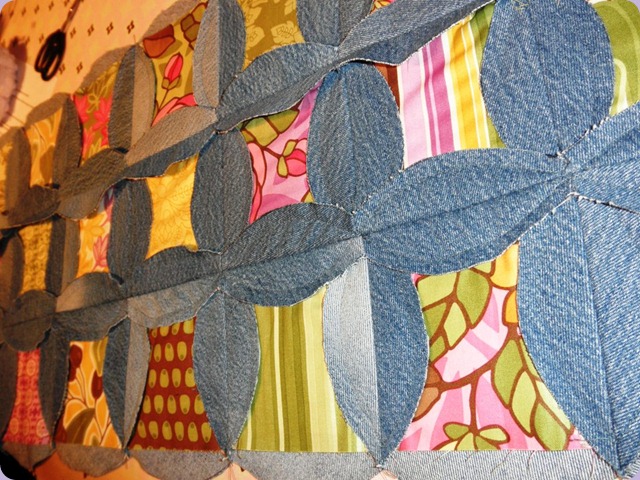
After I’ve pressed down the new flaps I’m ready to sew. I like to go through the entire quilt and sew two rows together at a time. Then I match a set of two with another and end up with four rows.
I then match a set of four rows with another set of four rows and end up with a set of eight rows…etc, until I’m done and all the rows have been added to the quilt.
This makes it a LOT easier to manipulate this thing under the sewing machine. If you waited until all of the circles were sewn together to sew down the flaps, this thing would be a bear to move around under the machine!!
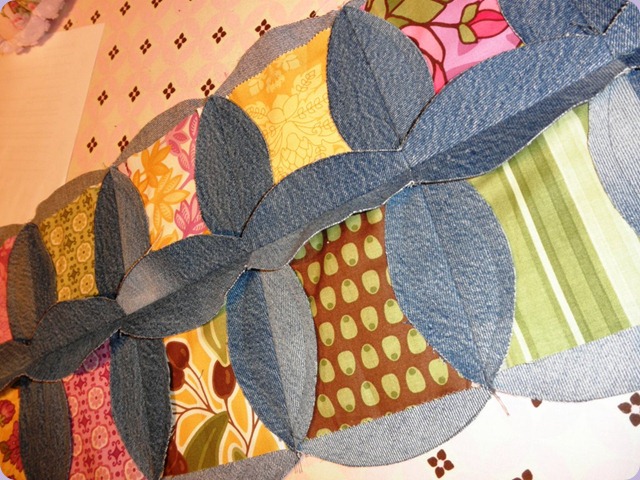
In the next step, you sew the flaps down moving from one end of a row to the other. I have found a REALLY great, easy and fast way to do this. The problem is, I haven’t exactly figured out how to describe this method in words!
It also makes an awesome pattern on the back of the quilt. It’s hard to see in my pictures because the thread color matches the denim almost exactly. Next time I’ll do this with a different colored bobbin thread.

So, what’s this easy-as-pie procedure for sewing down the flaps on the long part of the rows?
You start at one end with the newly folded flaps pressed down. You sew around the first flap just like you did in the prior step. However, you AIM for the center of the next block and then veer off around the opposite flap. You make a figure eight pattern down the whole row.
When you’re done, you flip this row around and go down the other way. When you’ve done it a second time, both sides of the flaps are sewn in place.
Confusing??? It’s really SO easy, it’s just something I’ve got to find a way to describe better!
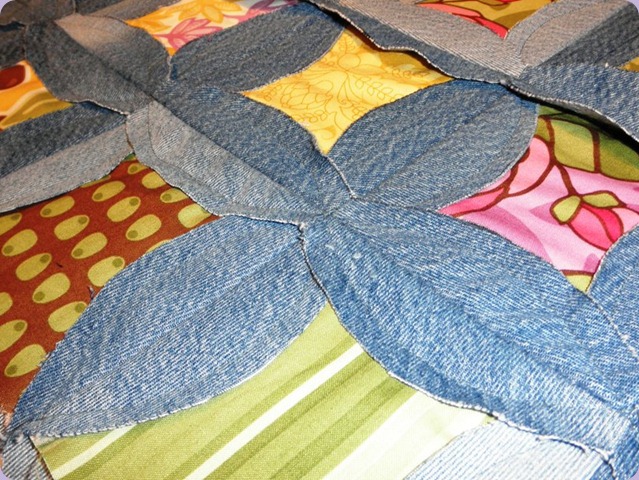
This is close to being down now. Like I said, it will just be a table runner this time so I can get these instructions done.
Now we’re ready for the clipping. I’ll share with you what I’ve learned about the variety of rag quilting scissors out there.
See ya!
Heather
Technorati Tags:
a passionate quilter,
passionate quilter,
apassionatequilter,
passionatequilter,
charm pack,
charms,
denim,
denim rag quilt,
denim quilt,
recycled denim quilt,
how to make a quilt pattern,
jean quilt,
make a pattern,
quilt blog,
quilt charm pack,
quilt reno


 Heather